EXTENDED DOF / SELECTIVE DOF — MULTIPLE CAPTURE
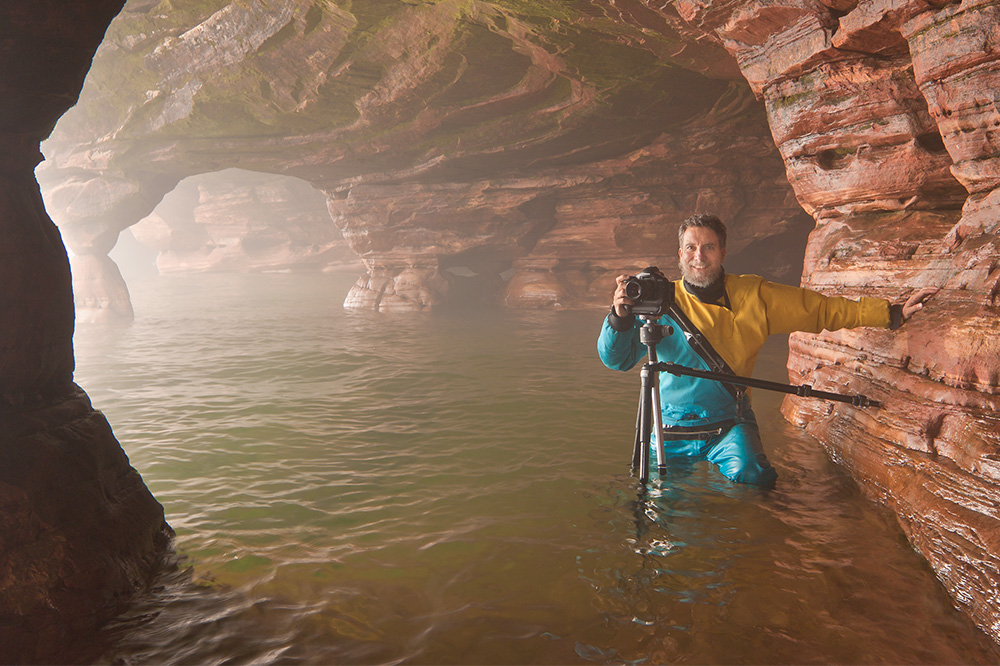
Reproduced with permission from Craig Blacklock.
The Purpose:
To get extend DOF on the subject, then have DOF abruptly fall off so background is soft.
When it can be used:
When subject is too deep to get sharp in a single capture, even at smallest usable aperture, and a soft background is desired.
Camera settings:
- RAW
- Aperture priority
- Mirror locked up
- Self timer set to 2 seconds or remote shutter release.
Limiting factor:
As with any multiple-capture technique, the subject must remain stationary between and during captures. If windy, use the Diffusion Tent to block it.
Capture process:
Here we are combining the techniques for extending and limiting DOF. Use on subjects where you can’t get adequate DOF on the subject in a single capture, and you want to set the subject off against a soft background.
Set the aperture to the sharpest aperture for your working distance (most likely between f/11 and f/22). Compose with the focus set so the near limit of DOF includes the closest element you want sharp. Make a capture. Then move the focus away one DOF zone and make another capture. Continue this way until your last capture at this aperture is right at the back of the subject area you want sharp. Make another capture at the same focus setting with the aperture you desire for the focus on the background. You may also wish to make one at this setting with the subject removed from the composition (Especially if the subject is now quite soft).
Computer processing:
Process all images the same in ACR. Save all but the soft one/s as TIFFS or PSDs to a project folder. Process all images EXCEPT THE SOFT ONE (or two if you did two soft) in Helicon Focus. This will give you an output image that has proper focus throughout the subject, but with a background that is sharper than you desire.
Next open the output image from Helicon Focus, and then open your soft background image as a SMART OBJECT in Photoshop. Drop the sharp subject image onto the background with the shift key held down. If you removed the subject you can now add your mask. If you did not, you will need to scale the top image first.
To see what you are doing:
Highlight the top layer in the layers pallet. Make its opacity setting 50%. Then type COMMAND/CONTROL I to invert that layer. Type COMMAND/CONTROL A to select the entire image. Then go EDIT>TRANSFORM>SCALE. You will be presented with handles on the corners of the frame. Hold down the COMMAND/CONTOL+OPTION/ALT+SHIFT keys while you drag a handle. This will constrain the image to the proper proportions and keep it centered. When it is properly sized, the embossed look will be minimized. Once it is properly sized, hit the return key. Then redo the opacity to 100% and type COMMAND/CONTROL I to invert back to normal.
Add a layer mask to the subject layer by highlighting the layer and clicking on the “add layer mask” icon (third icon from the left in the bottom of the layers pallet).
You will now have to create a selection protecting the subject. You can use any combination of the selection tools from the tools pallet. I find the polygonal lasso is the best for this kind of thing. Once you have outlined the subject (zoomed in to 100%), you can invert the selection COMMAND/CONTROL+SHIFT I so the area outside of the subject is highlighted. Now click on the mask to highlight it, and do EDIT>FILL>100% with your foreground color (assuming black is in your foreground in the color picker). This will allow the soft background to show through around your subject. But it will have a very hard “cut out” looking edge.
To refine and soften the edge, click on the mask in the layers pallet, and then move the feather slider in the mask panel above it. Zoom in to examine the edge. You can click on the “mask edge” button to refine the edge even more. You may find areas that did not get cut properly. You can paint with black or white paint right on the image with the mask highlighted to fix these. Black paint will allow the background to show, white will allow the foreground to show. You can toggle back and forth from white to black by typing the X key. Remember COMMAND Z will undo the last thing you did.
Since your background is on a different layer than your subject, you can easily darken it a bit if you desire to make the subject stand out. Since it is a Smart Object, just double click on it in the layers pallet. It will open up again in ACR. Make the changes you want and click DONE. It will then return to the layered Photoshop image with the changes you just made. All non-destructive!
If you find you have a soft edge of subject from your background capture sticking out around your sharp subject, you will have to clone it out. . First copy the layer by dragging it to the make new layer icon in the layers pallet. Then rasterize the new layer so you can clone on it. LAYER>SMART OBJECT>RASTERIZE. Use the rubber stamp tool to clone background over the subject edge. Be sure to use a very soft edged brush.


